
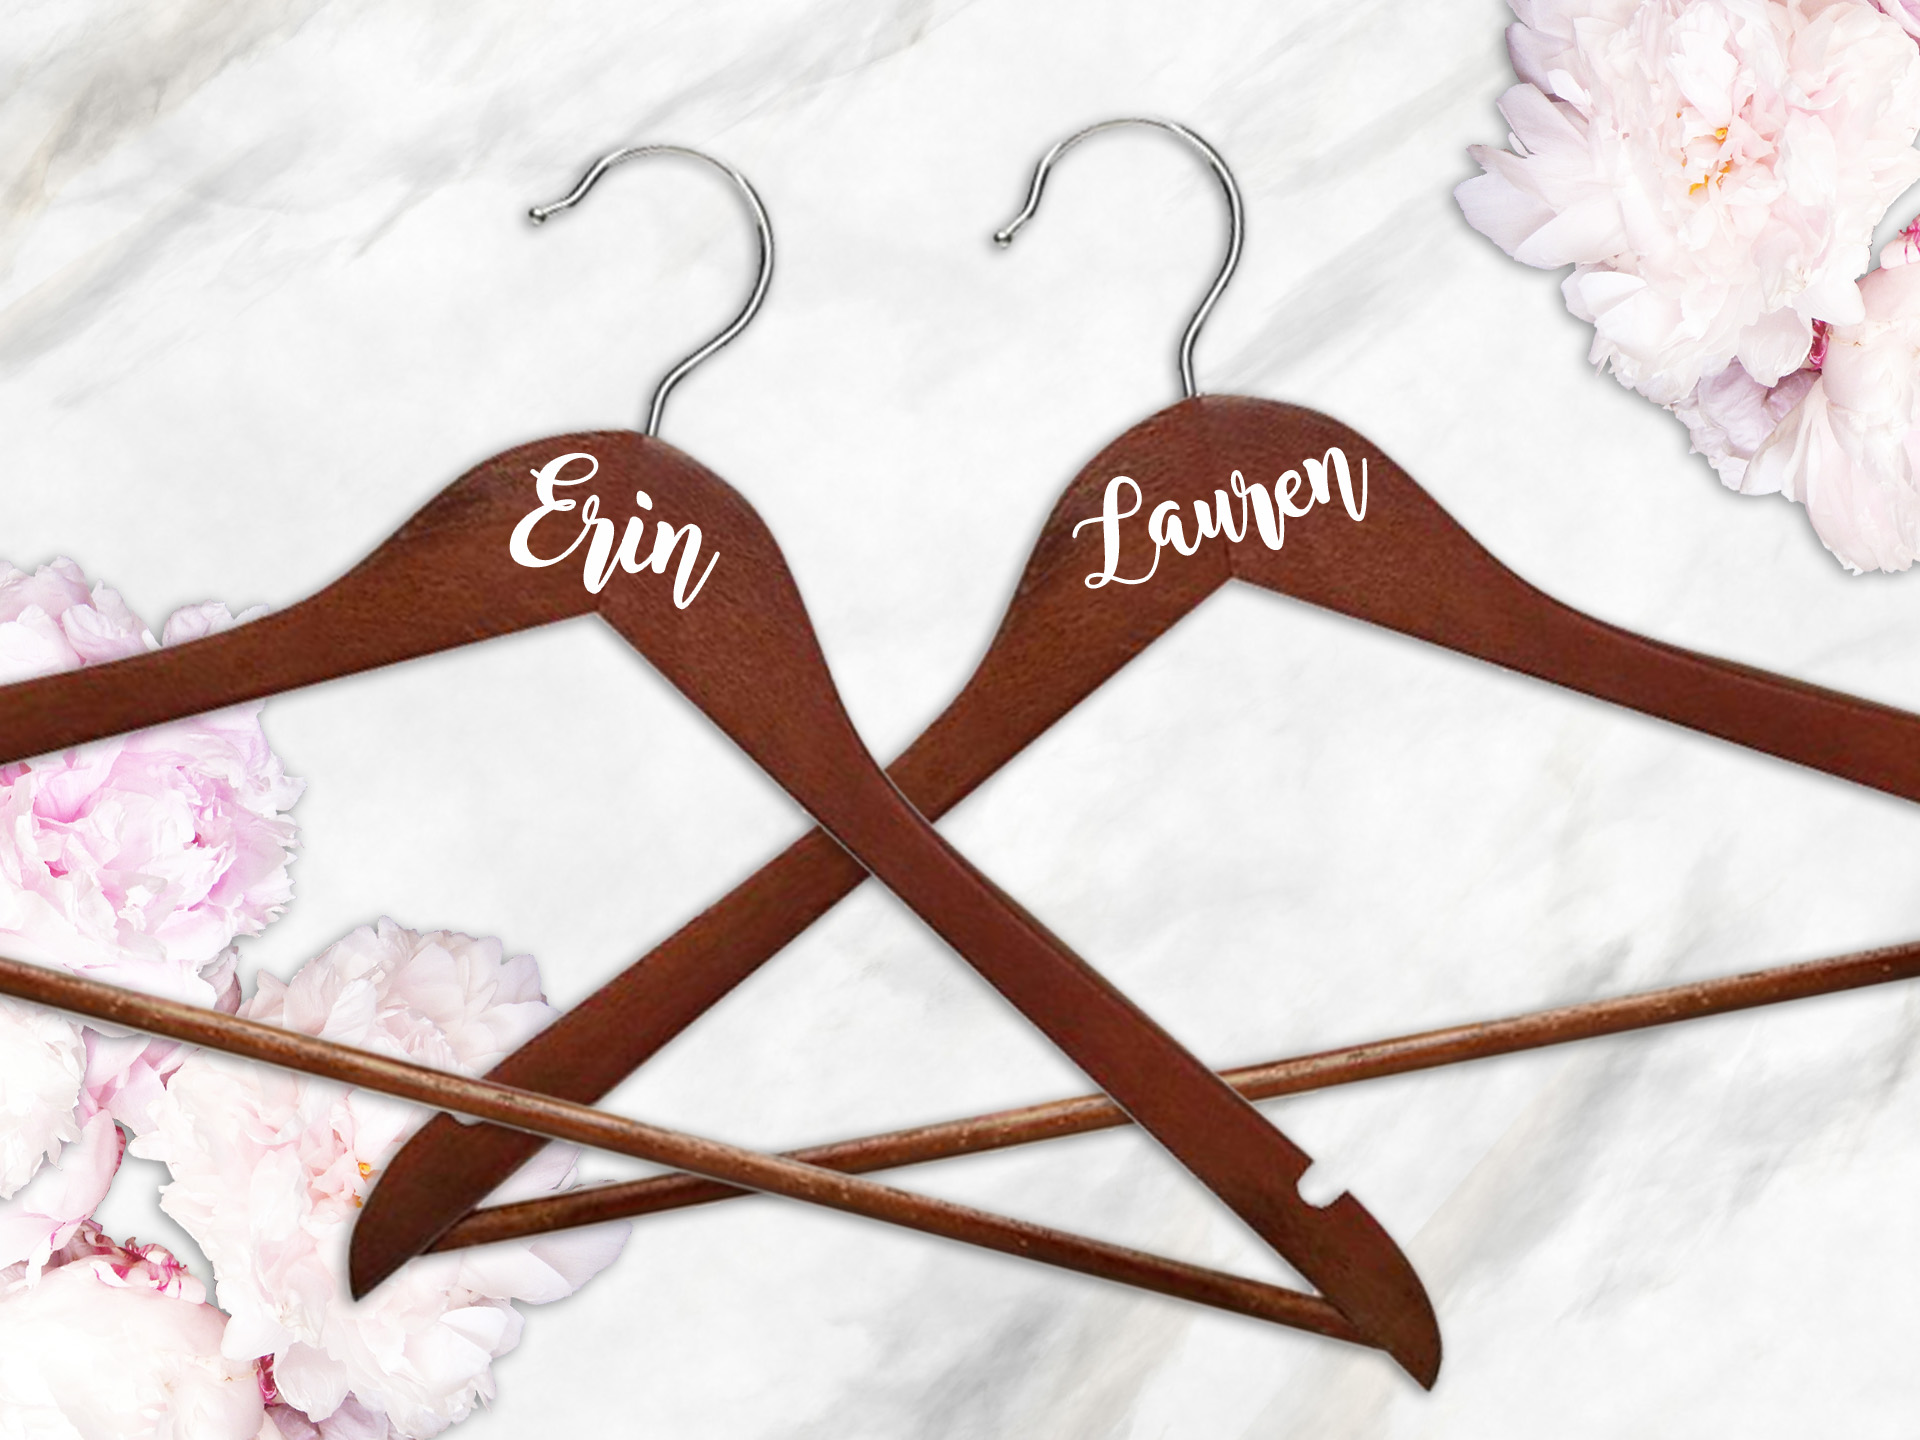
Who loves vinyl crafts?! These diy wedding hanger decals are so easy and fun to make. Make them for yourself or give them to your entire bridal party. These are a perfect wedding keepsake that can still be used and cherished after the wedding.
For this tutorial I am using the Silhouette Cameo and the Silhouette Studio Business Edition software. You can make these decals with any other craft cutting machine and software.
Supplies Needed:
- Silhouette Cameo or other craft cutter
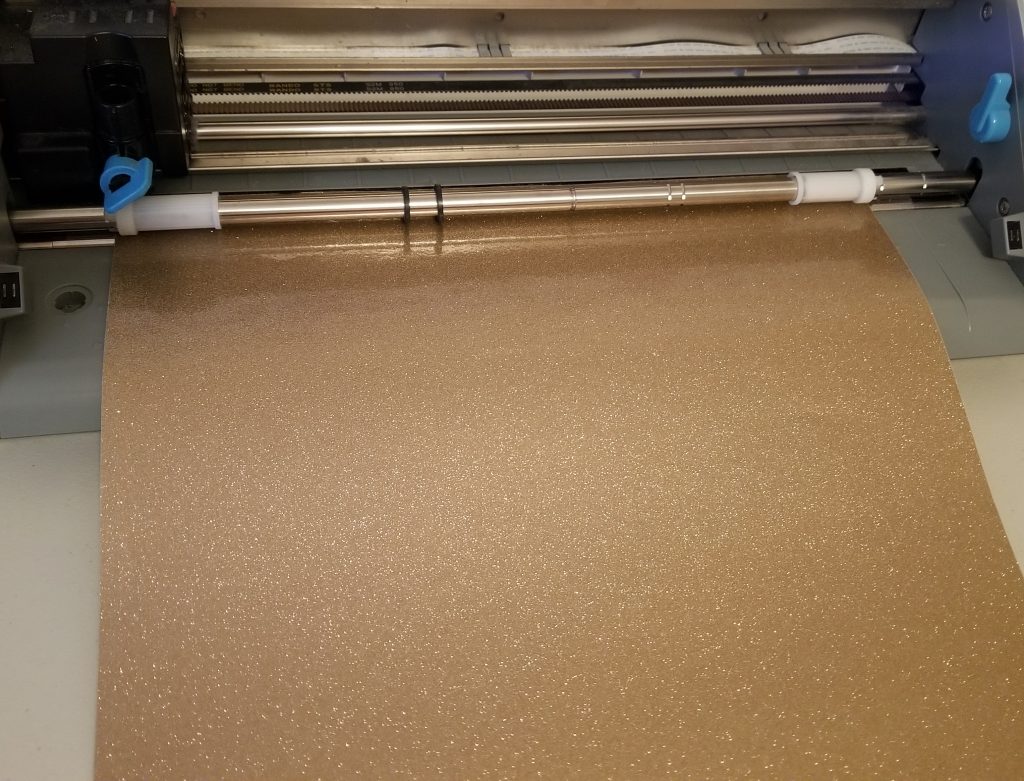
- Craft Vinyl (I used Expressions Vinyl in gold glitter)
- Transfer Tape
- Silhouette Weeding Tool
- Scraper
- Wooden Hanger
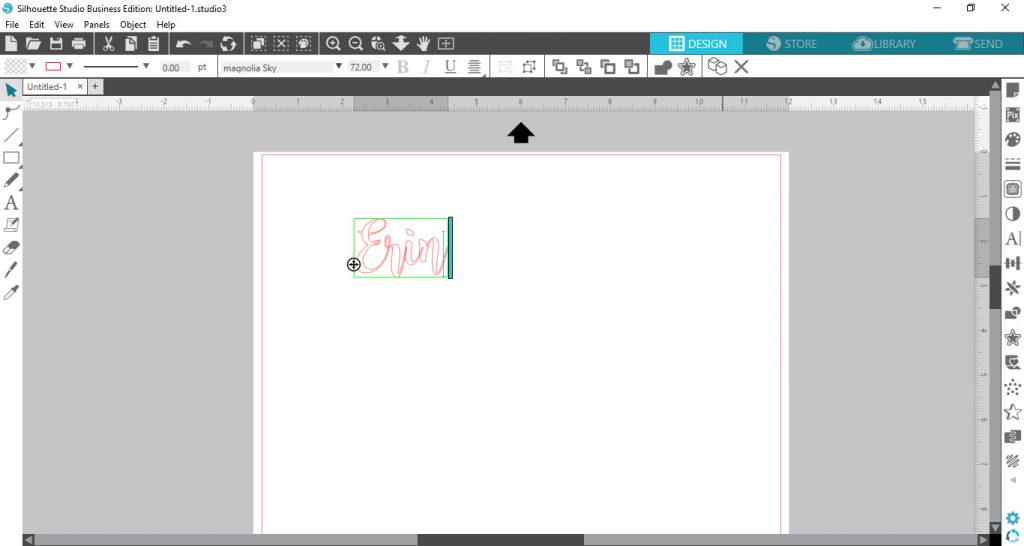
Type out the name(s) in Silhouette Studio first. I am using the popular font, Magnolia Sky.
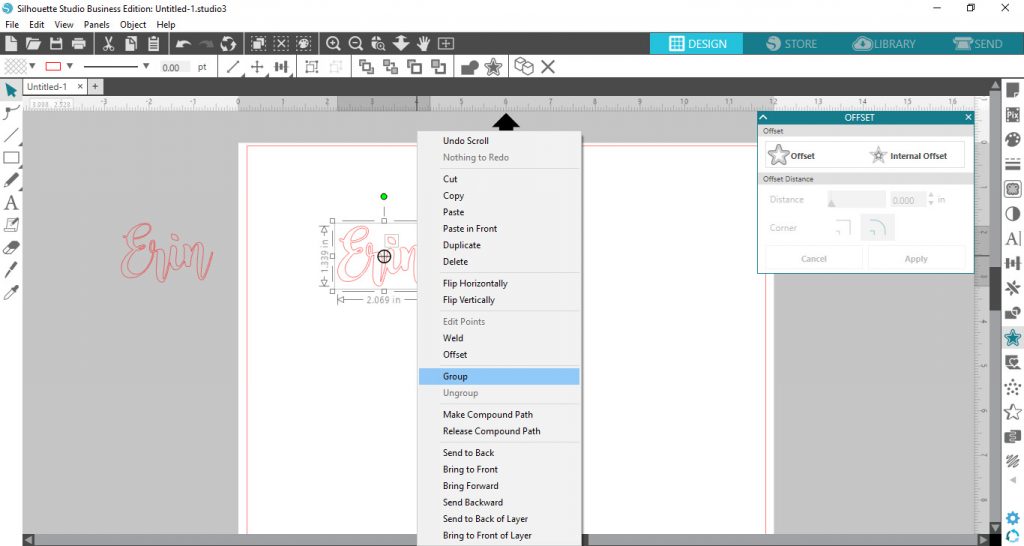
Weld the text together.
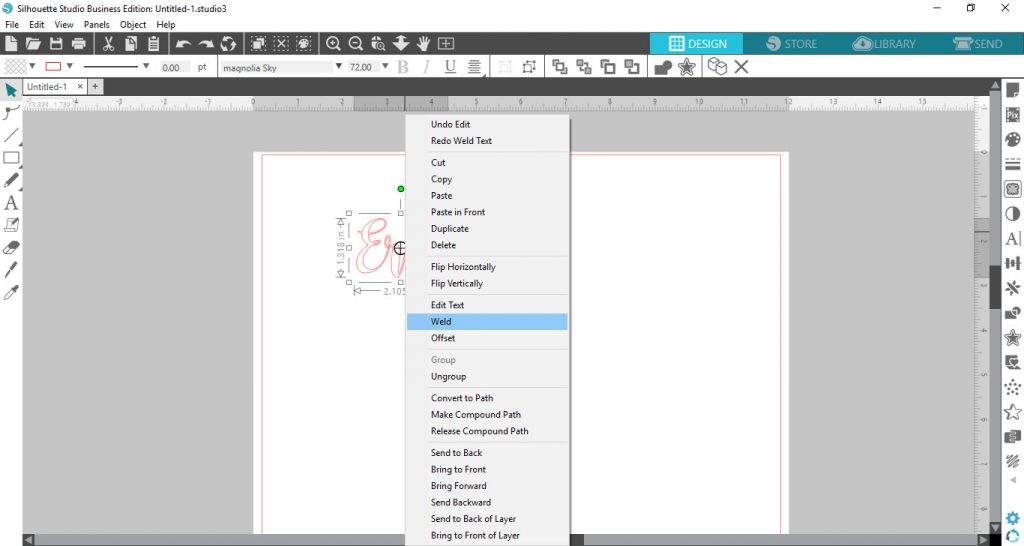
Group the pieces together.

I find that when the decals are made the size to fit the hangers, they come out a little too thin so I offset by .010 to make them thicker.
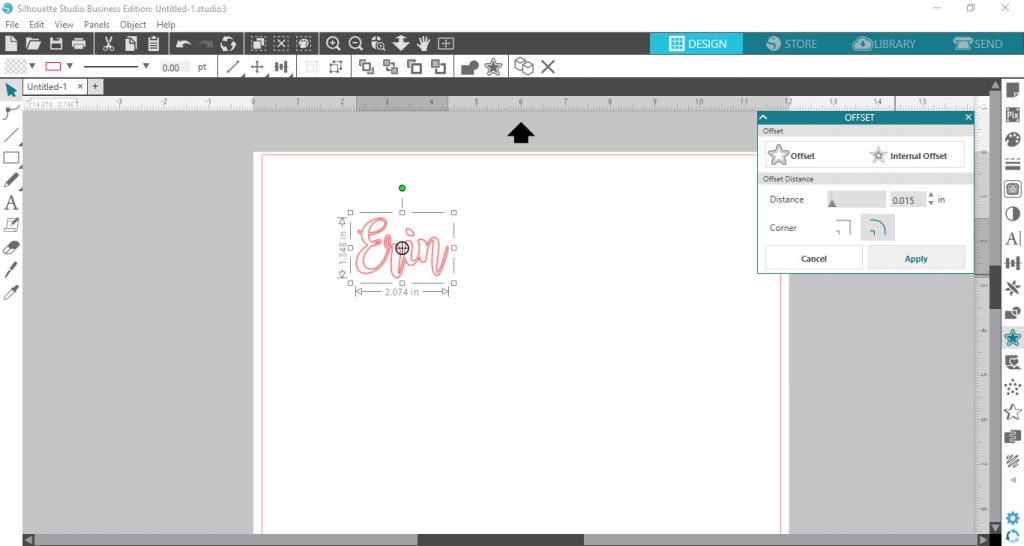
Move the original shape to the side and then group the new, thicker shape together.
Size the name to fit your hanger. I’ve made many of these decals and although the size of each name will vary depending on how many letters are in the name, as long as you don’t go over the max width of 2.5” wide by 1.29” tall, the decals will fit most standard wooden hangers.
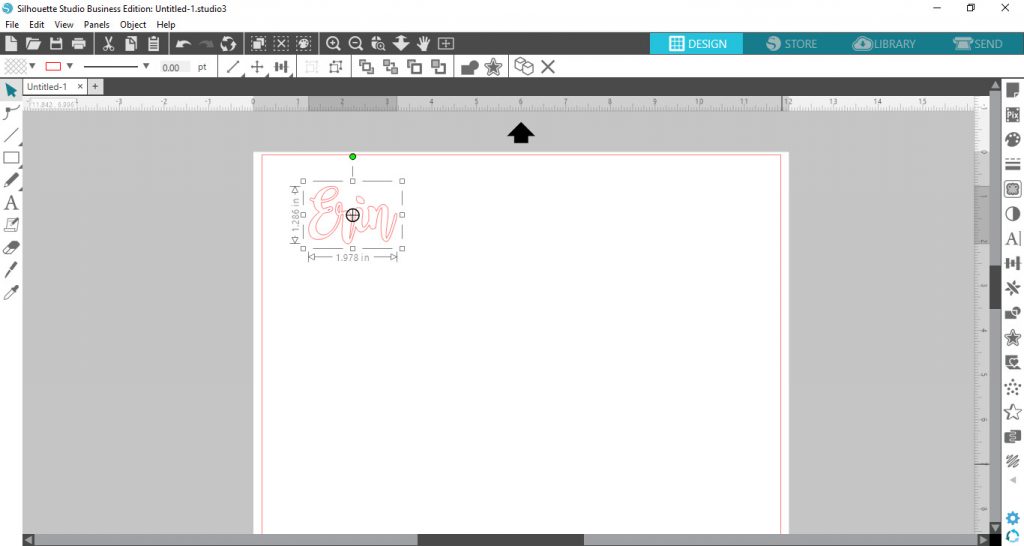
Ready to cut!
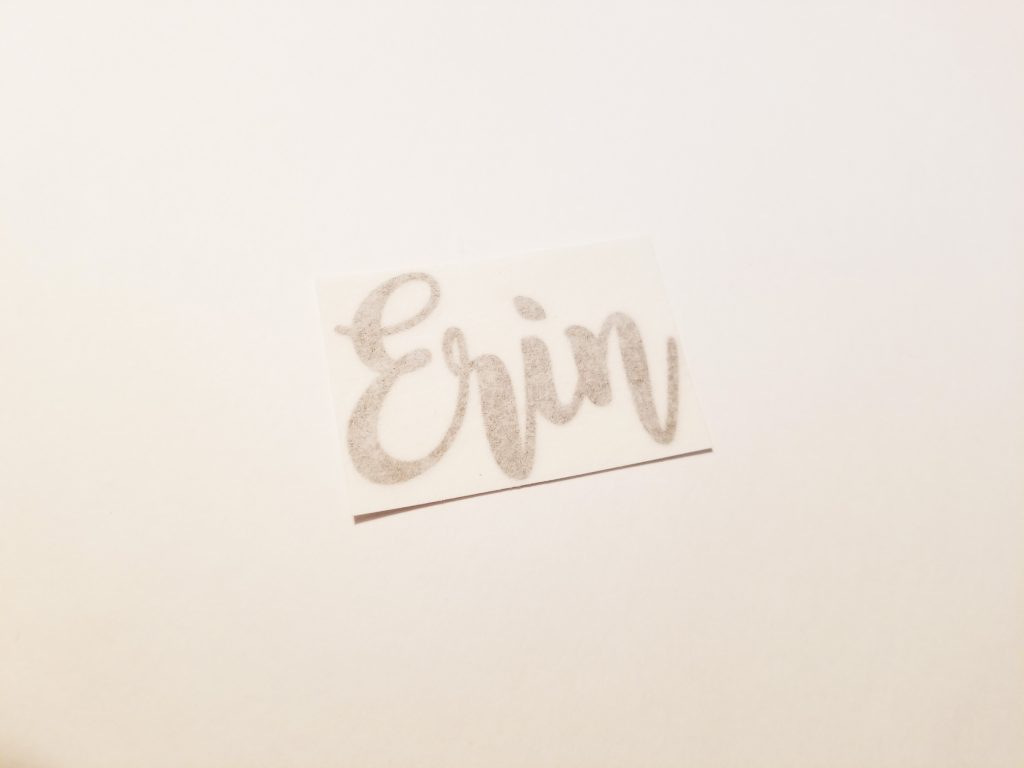
Yay, the name is now cut! Now, with scissors, cut the out the name from the vinyl sheet and weed your decal.
Add the transfer tape and trim around the edges.
Now, it’s time to place the decal on the hanger. The fastest way is to just remove the backing from the decal, place the decal on the hanger and then remove the transfer tape and you’re done. However, I’m always scared that I’ll put it on crooked so I like to use the hinge-method (even for something this small ha!). If you’d like to know how to do this method then keep reading!
Hinge-Method
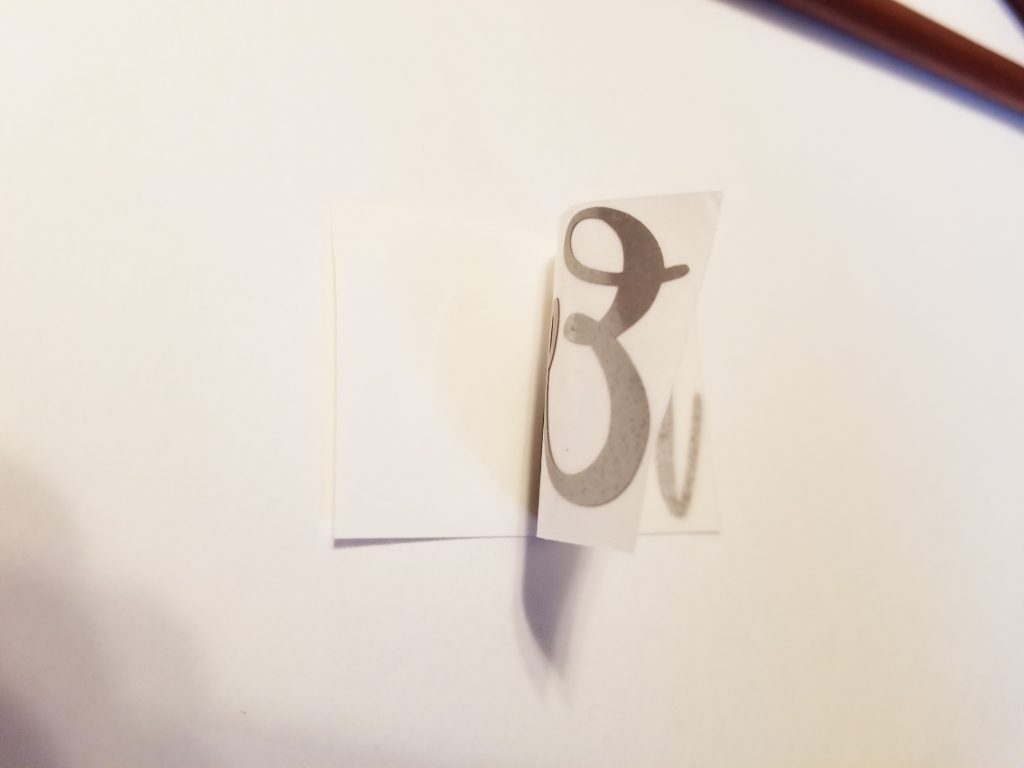
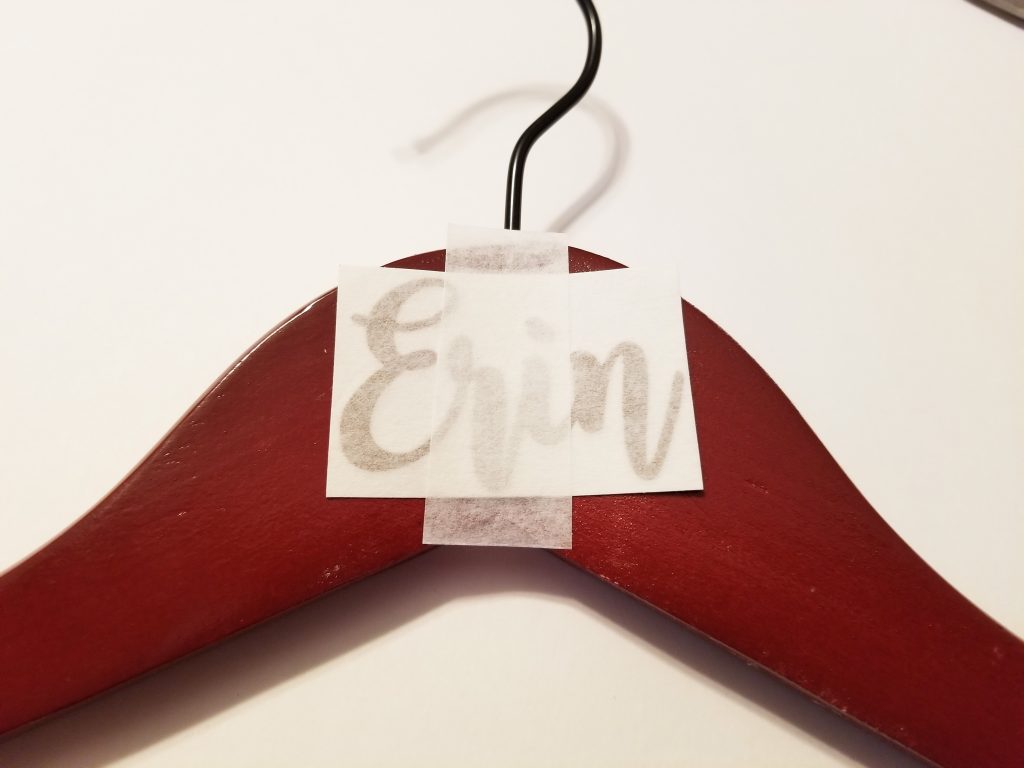
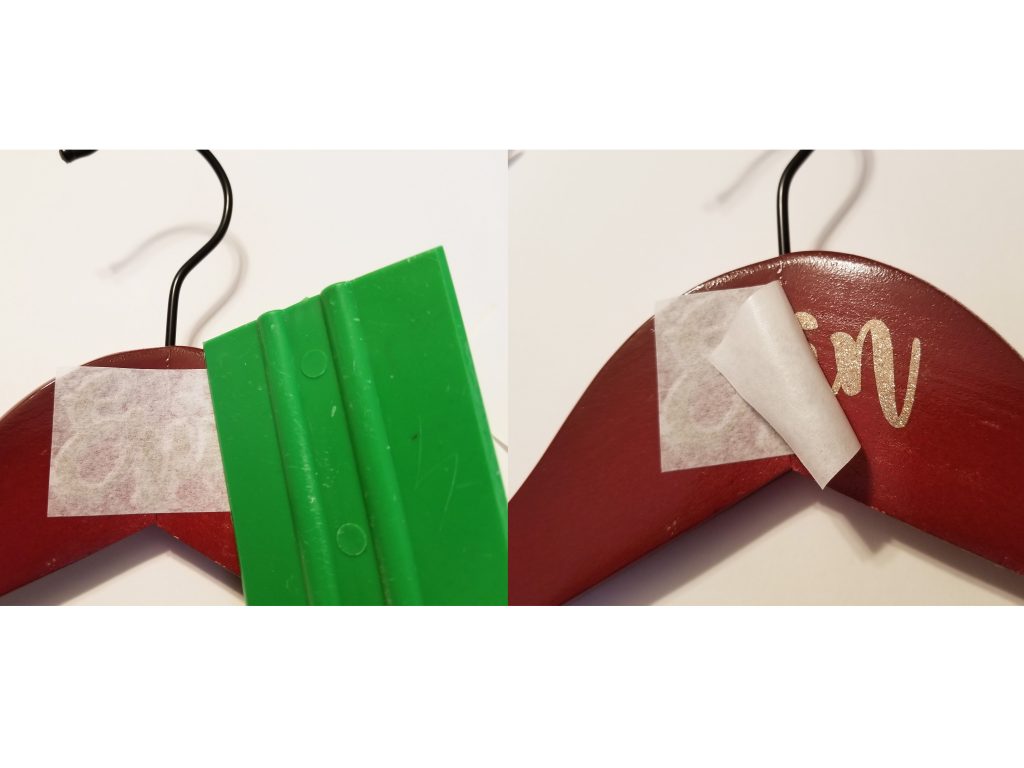
You will need a small piece of scrap transfer tape for this so make sure you have it ready. First, position the decal on the hanger to your liking and then place the scrap transfer tape vertically down the middle as shown below making a hinge.
Next, peel the backing from the decal on the right side of the tape only stopping when you reach the hinge. Cut the backing off on that side only and then place the decal with transfer tape onto the hanger.
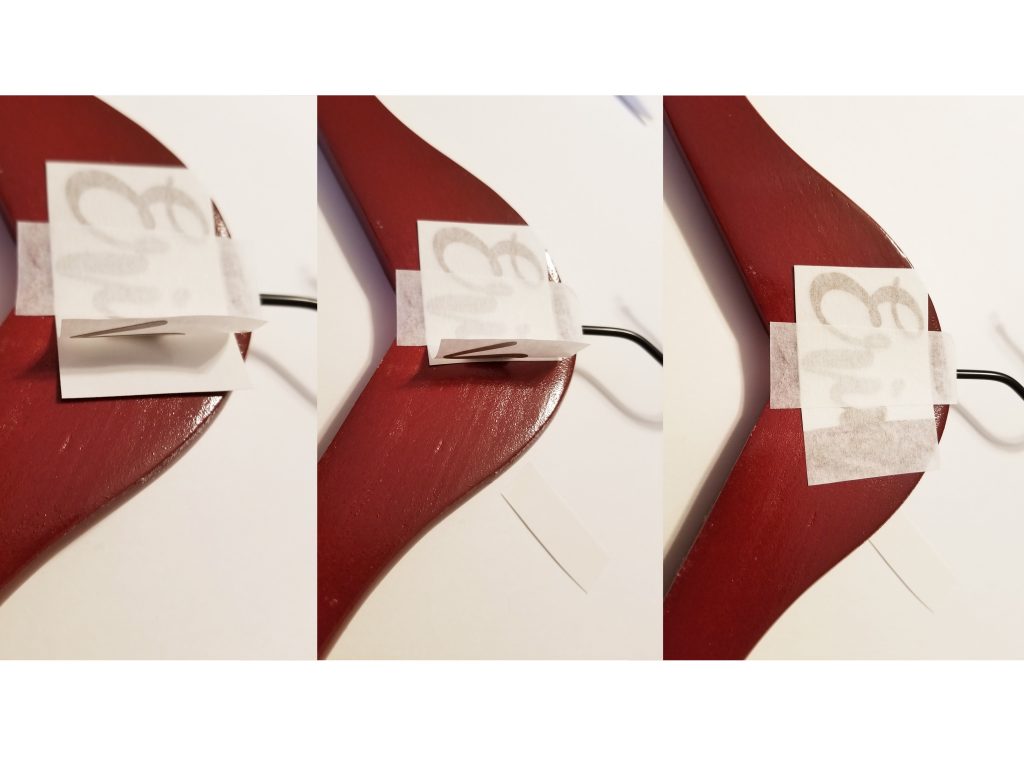
Remove the hinge and repeat on left side.
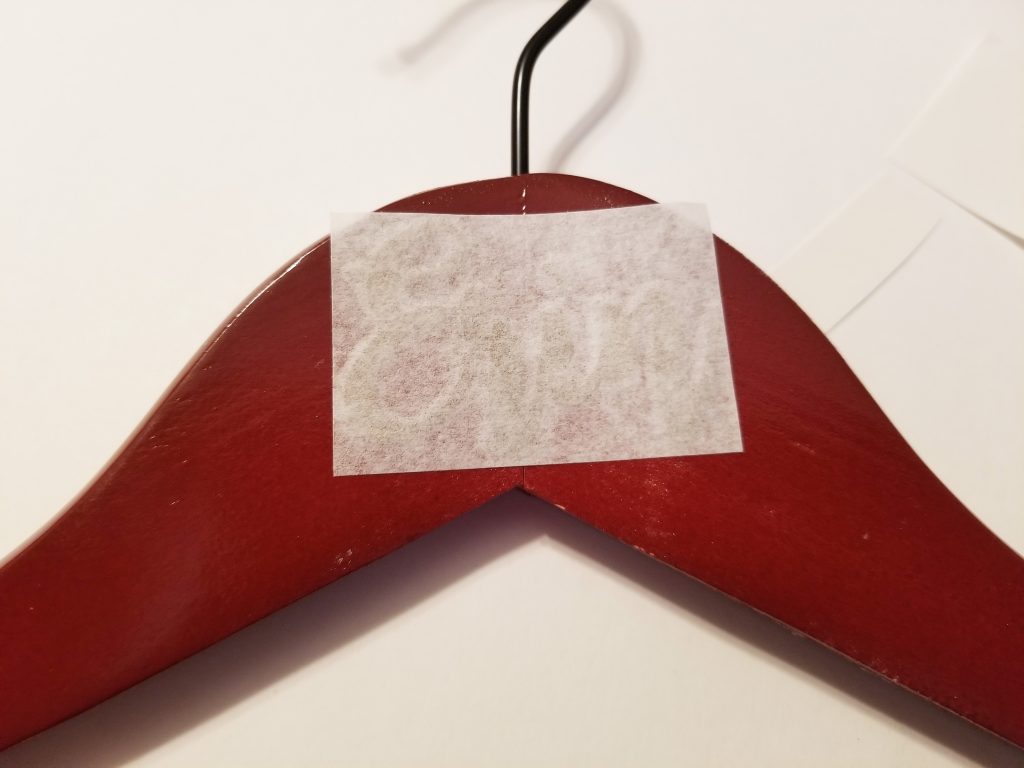
Use your squeegee tool to make sure the decal is firmly attached and then remove the transfer tape.
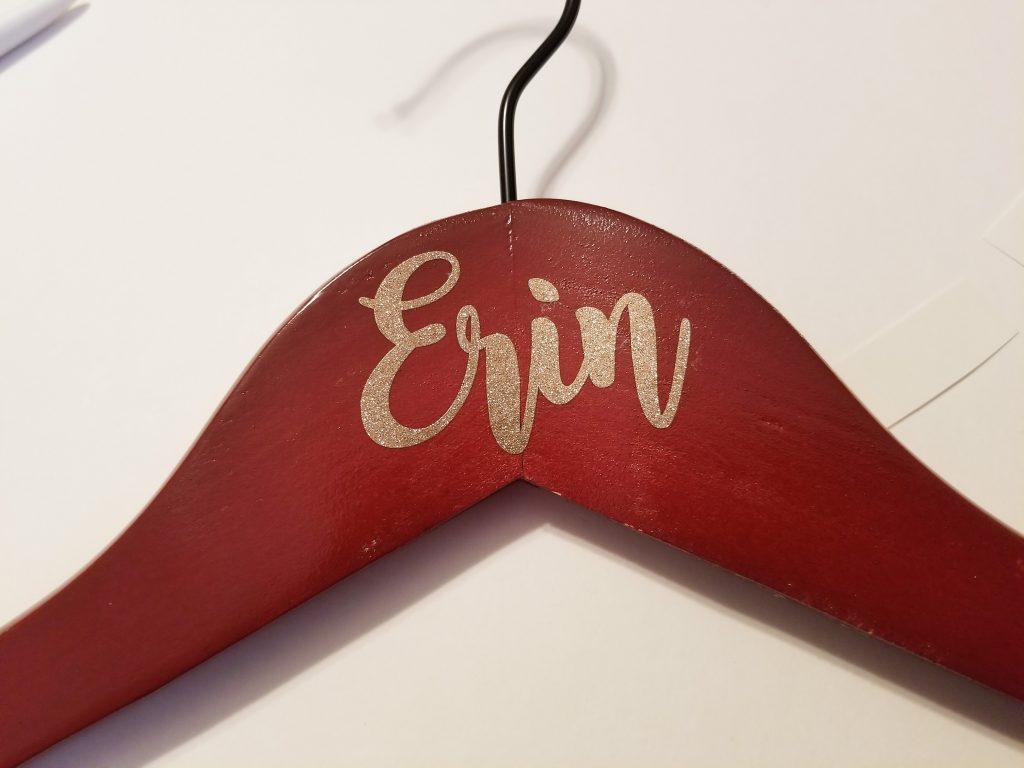
That’s it! Your DIY wedding hanger is done! These are great just for the bride or for the entire bridal party as bridesmaid proposals!
Recent Posts
Boots and Bling Before the Ring Free SVG PNG Design File Bundle
Get your cowgirl boots ready! These designs are great for an Austin or Nashville bachelorette party. The bundle includes 2 designs: Boots & Bling Before the Rings with a boot and also with a...
These designs are a super cute idea for bachelorette party shirts, cups, or other favors or even bridesmaid proposal idea. Includes SVG, JPG, DXF, EPS, and PNG file formats. Bride -...